Perfect Sushi Rice Recipe: How to Cook Fluffy, Seasoned Sushi Rice Recipe
Introduction
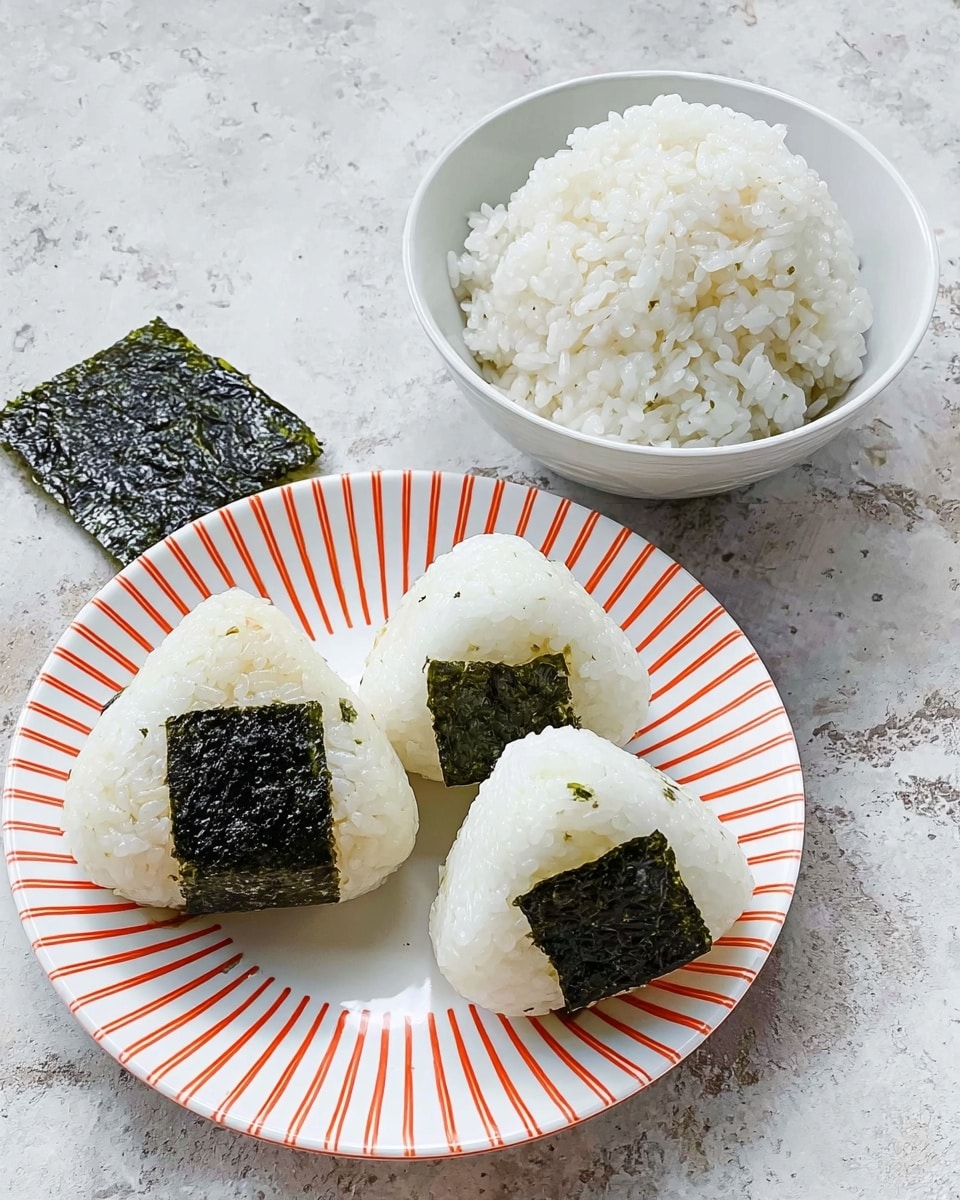
Sushi rice is the foundation of any good sushi dish, prized for its sticky yet tender texture. Mastering the perfect ratio of rice to water ensures your rice cooks evenly and turns out just right. With this simple method, you’ll have delicious sushi rice ready for your favorite rolls or bowls.
Ingredients
- 1 cup sushi rice (about 220g)
- Sushi rice seasoning, to taste (optional)
- 1½ cups water (about 375ml)
Instructions
- Step 1: Measure 1 cup of sushi rice using a volume measure such as a 250ml cup, short glass, teacup, or small mug. Rinse the rice in a saucepan by swirling it around with water, then drain carefully without losing any grains.
- Step 2: Add 1½ cups of water to the rinsed rice in the saucepan. Bring the water to a quick simmer over medium heat, then cover tightly with a lid and reduce the heat to low. Cook for 13 minutes without removing the lid.
- Step 3: After 13 minutes, check a couple of grains at the surface to see if the rice is cooked and the water has evaporated. If not, cook for additional 2-minute intervals, checking each time as different rice brands may vary.
- Step 4: Once cooked, turn off the heat and let the rice sit, covered, for 10 minutes. This resting time allows the moisture to fully absorb, resulting in perfectly textured sushi rice.
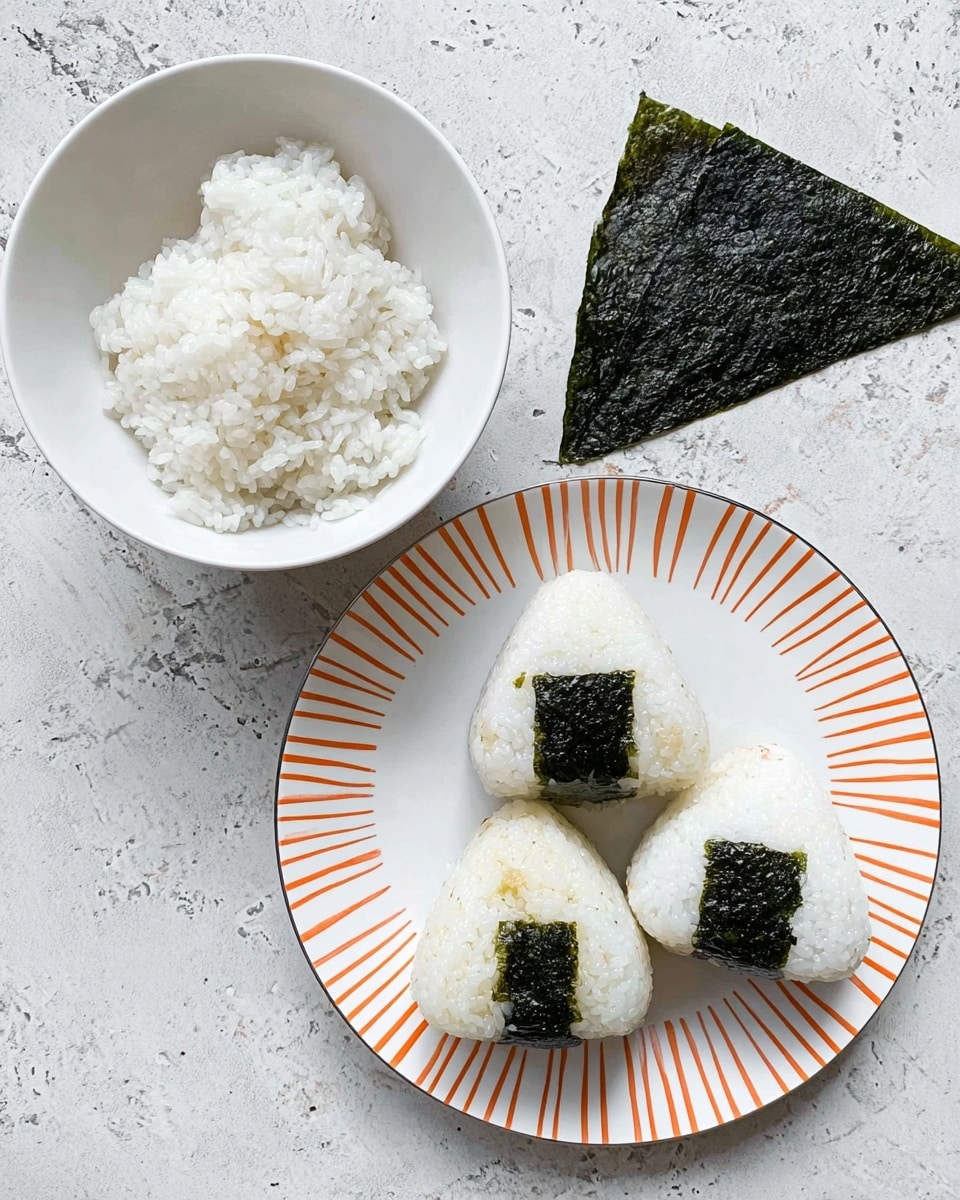
- Step 5: Fluff the rice gently and add sushi rice seasoning if desired. Serve immediately for best results.
Tips & Variations
- Use a consistent measuring cup to maintain the perfect rice-to-water ratio each time you cook.
- If you prefer, warm the sushi rice seasoning before mixing it in to help it absorb better into the rice.
- For extra flavor, you can add a small piece of kombu (dried kelp) to the water while cooking, then remove it before serving.
Storage
Store leftover sushi rice in an airtight container in the refrigerator for up to 2 days. It’s best reheated gently in the microwave or steamed to maintain moisture. Avoid freezing as it can change the rice texture.
How to Serve
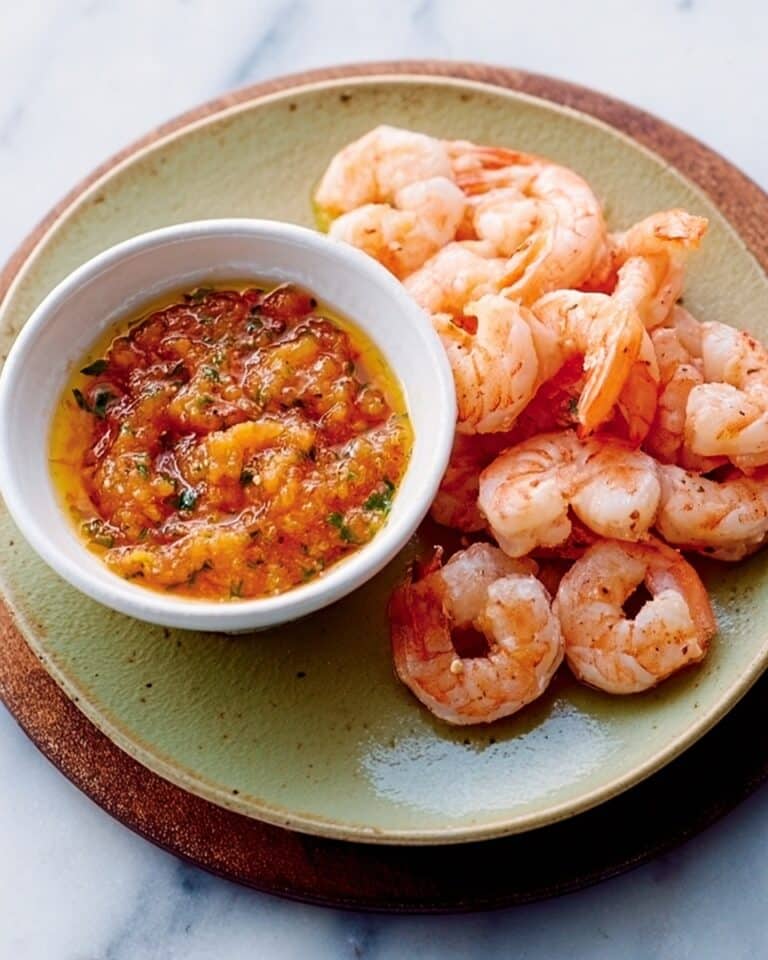
Serve this delicious recipe with your favorite sides.
FAQs
Can I use regular rice instead of sushi rice?
Sushi rice is a specific short-grain variety that becomes sticky when cooked, essential for making sushi. Using regular long-grain rice won’t give the same texture or stickiness required for sushi.
Why should I not remove the lid while cooking?
Removing the lid lets steam escape and can disrupt the cooking process, leading to unevenly cooked rice. Keeping the lid on maintains the proper steaming environment for fluffy, tender sushi rice.
Print
Perfect Sushi Rice Recipe: How to Cook Fluffy, Seasoned Sushi Rice Recipe
- Total Time: 30 minutes
- Yield: About 2½ cups cooked rice 1x
- Diet: Gluten Free
Description
This simple sushi rice recipe teaches you how to perfectly cook sushi rice with the ideal rice-to-water ratio for fluffy, sticky grains essential for making traditional sushi dishes. It includes rinsing, simmering, and resting steps to achieve the perfect texture, with optional sushi rice seasoning for added flavor.
Ingredients
Rice
- 1 cup sushi rice (about 220g)
- 1½ cups water (about 375ml)
Optional Seasoning
- Sushi rice seasoning, to taste
Instructions
- Measure and Rinse Rice: Measure 1 cup of sushi rice using a volume measure. Place it in a saucepan, add water, and swirl the rice gently to rinse it. Drain the water carefully without losing any rice grains.
- Add Water and Simmer: Pour in 1½ cups (about 375ml) of water to the rinsed rice. Quickly bring the mixture to a simmer over medium-high heat, then cover with a tight-fitting lid and reduce the heat to low.
- Cook Rice: Let the rice cook on low heat for 13 minutes without removing the lid. This allows the rice to absorb the water evenly and cook thoroughly.
- Check and Adjust Cooking: After 13 minutes, check a few grains at the top to ensure they are cooked and the water is absorbed. If needed, continue cooking in 2-minute intervals until the rice is just cooked.
- Rest Rice: Turn off the heat and keep the lid on. Let the rice stand for 10 minutes to absorb any remaining moisture and achieve the perfect sticky texture.
- Season and Serve: Optionally, add sushi rice seasoning to the cooked rice and mix gently before serving.
Notes
- Use a tight-fitting lid to trap steam for even cooking.
- Do not lift the lid during cooking to avoid disturbing the rice texture.
- The measurement uses volume rather than weight for best consistency.
- Resting the rice is essential to ensure it becomes sticky and holds together for sushi.
- Sushi rice seasoning typically includes rice vinegar, sugar, and salt; adjust it according to taste.
- Prep Time: 5 minutes
- Cook Time: 15 minutes
- Category: Side Dish
- Method: Stovetop
- Cuisine: Japanese
Keywords: sushi rice recipe, how to cook sushi rice, Japanese rice, sticky rice for sushi, sushi rice seasoning

